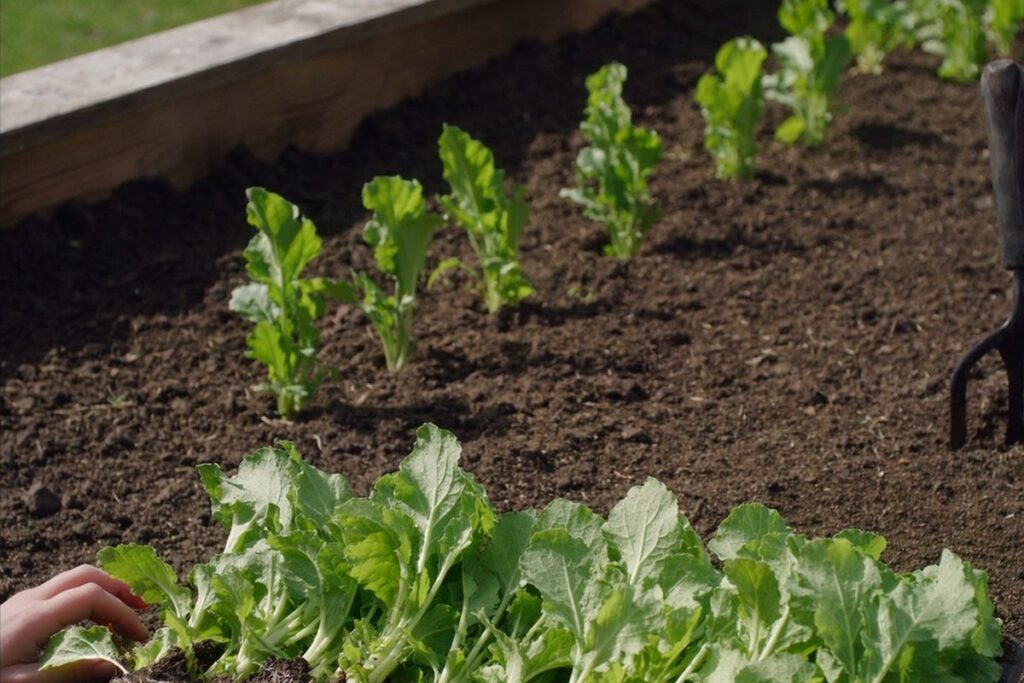
For a century, gardening advice started with “dig it over.” Then an English market gardener named Charles Dowding spent decades methodically demonstrating the opposite — beds that are never dug, fed only with compost from the top — and grew some of the most productive vegetable gardens anyone had seen, documenting side-by-side dig vs no-dig trial beds along the way. No-dig has since become one of the most-followed growing methods in the world, and it suits New Zealand conditions remarkably well.
Here’s the honest Kiwi guide: why it works, exactly how to start, and the one real catch nobody mentions until you hit it.
Why not digging works
Soil isn’t dirt — it’s a living structure: fungal networks, worm channels, bacterial communities, and a crumb structure built over years. Digging smashes that structure, exposes stored carbon and moisture to the air, and hauls a fresh load of weed seeds to the surface where they germinate. That’s why dug gardens need so much weeding — the weeding is largely a problem the digging created.
No-dig flips the model to how forests build soil: organic matter lands on top, soil life carries it down. That same forest logic, scaled up to trees and shrubs, is the basis of a backyard food forest. You add a layer of compost to the surface each year, plant directly into it, and let the worms do the incorporation. The practical results Kiwi no-dig converts consistently report: dramatically fewer weeds, better moisture retention through dry summers, earlier workable beds in wet winters (no waiting for soil dry enough to dig), and less back pain — which is nothing to sneeze at either.
Starting a no-dig bed on top of your lawn (winter can work well)
The genuinely great thing about no-dig: you can start a bed on existing lawn or weeds with zero digging, and winter can be a practical time in many regions because the bed can settle before spring planting. In very wet or frozen ground, wait for workable conditions and avoid compacting saturated soil.
- Mow or trample the area. Don’t remove the grass — it’s future organic matter.
- Lay plain cardboard over the whole area, overlapping generously (50%+ overlaps — grass finds gaps with supernatural determination). Remove tape and staples. Wet it down.
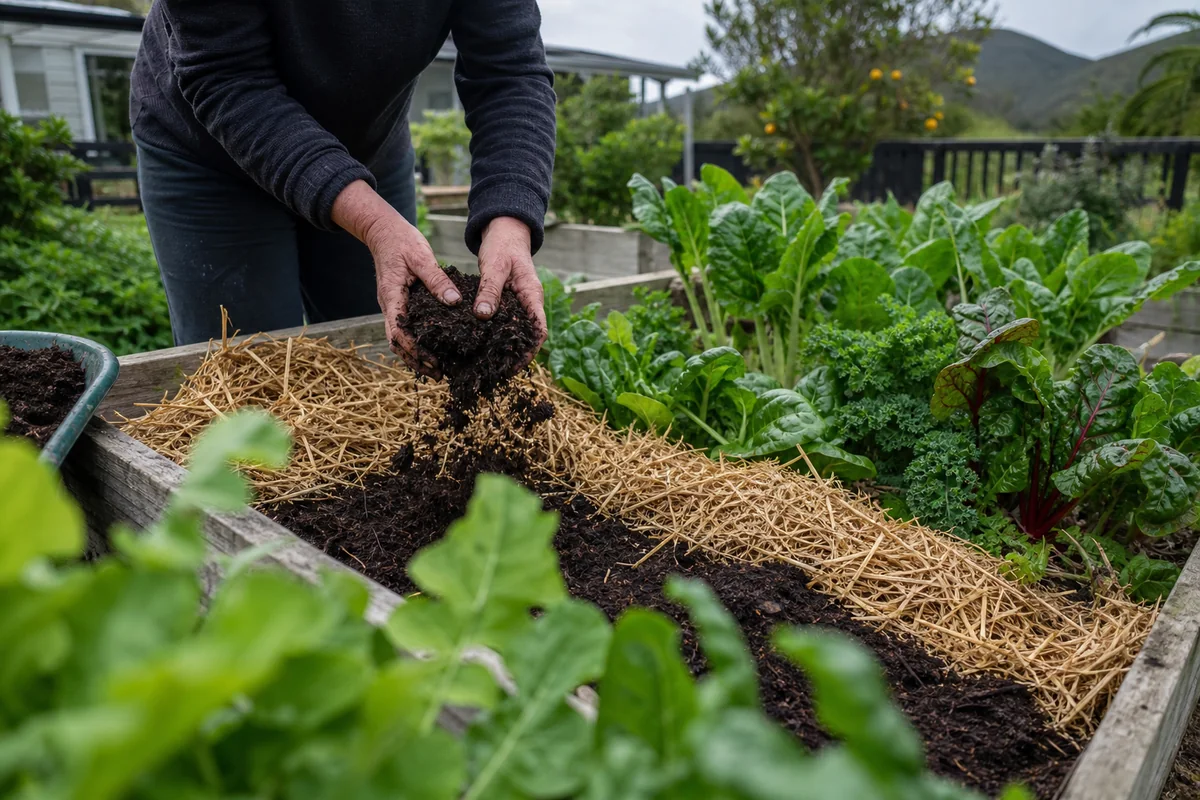
- Pile 10–15cm of compost on top. This is the planting layer. Frame it with untreated timber if you like edges, or leave it as a free-form mound — the frame is aesthetics, not function.
- Plant straight into the compost come spring (or now, for hardy winter crops — see our winter growing guide). The cardboard smothers the grass, then rots away just as roots need to go deeper.
- Each year after: 3–5cm of compost on top. No digging, ever again. That’s the entire maintenance program.
The one real catch: compost, and lots of it
Honesty time: no-dig’s dirty secret is that it’s really a compost-production challenge wearing a gardening method’s clothes. That first 10–15cm layer is a lot of compost — roughly a cubic metre for every 7–10 square metres of bed — and buying it by the bag is brutal on the wallet.
The Kiwi solutions, in order of cost: make your own (the companion skill no-dig forces you to learn — a pallet bay fed with lawn clippings, leaves and kitchen scraps); buy in bulk from landscape suppliers by the trailer-load or cubic metre rather than by the bag (dramatically cheaper — ask for their screened organic compost and check what’s actually in it); use well-rotted animal manure from the ubiquitous rural “$5 a bag at the gate” economy if you’re outside the cities; and build beds gradually — one small bed done properly beats a huge one done thin. Councils in several regions also sell compost made from kerbside green waste at reasonable prices — worth a call.
No-dig, NZ conditions, honest caveats
- Wet regions: no-dig beds sit slightly raised and drain well — a genuine advantage in soggy NZ winters. On truly waterlogged ground, frame the beds a little higher.
- Slugs and snails love mulch layers in our mild damp climate. Dowding himself favours bare compost surfaces over straw mulch partly for this reason — in NZ conditions, that advice holds double. Keep the surface compost-only and patrol early on.
- Couch and convolvulus (the nightmare creepers) are suppressed, not instantly killed — persistent patches may need a second cardboard round. Honest answer: no method kills convolvulus in one season.
- It’s not anti-science to dig sometimes: harvesting spuds and kūmara disturbs soil by nature, and that’s fine. No-dig is a default, not a religion.
Does it actually out-produce digging?
Dowding’s long-running side-by-side trial beds (same crops, same compost, dug vs undug) have shown broadly comparable or modestly better yields from no-dig — with far less labour and weeding. That’s the honest pitch: not magic yields, but similar-or-better harvests for a fraction of the work, improving soil instead of depleting it. For a home gardener, the labour saving alone settles the argument.
The bottom line
No-dig is that rare gardening trend that’s actually a labour-saving device with better soil as a side effect. Lay cardboard and compost over a patch of lawn this month, plant it in spring, and you’ll harvest from soil you never once turned over. Source compost in bulk (or start making it — that’s next on our list), keep the surface clean in slug country, and give the creepers a second round if they test you. Then save the seeds from what you grow — our seed saving guide — and the whole system starts feeding itself, which is rather the point.