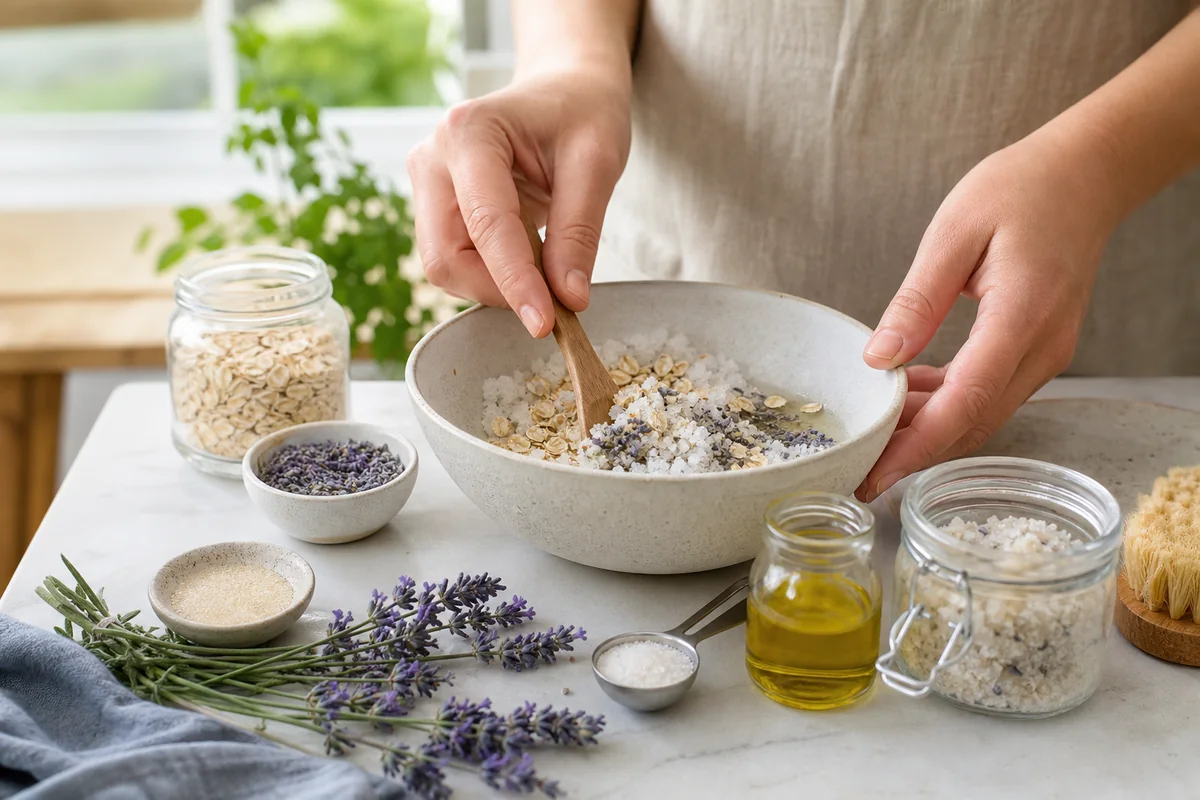
A bath soak is salt. A body scrub is salt and oil. A balm is wax and oil. Once you’ve read a few ingredient lists, paying boutique prices for four-ingredient products gets harder — and making your own is cheaper, genuinely satisfying, and puts you in complete control of what goes on your skin.
It’s also easy to get wrong if you don’t know where the safety lines are. This is the honest beginner’s guide.
Why DIY at all?
Three reasons. Cost: a boutique bath soak is mostly salt, and salt bought by the kilo is a fraction of the price per bath. Control: if you have sensitive skin or strong preferences about fragrance and preservatives, you decide everything. Waste: refilling your own jars beats a shelf of single-use plastic — a natural fit if you’re already down the sustainable living path.
The golden rule: anhydrous first
Water is where the risk lives. Products containing water (lotions, creams, anything with hydrosols or aloe juice) can grow bacteria and mould within days and require proper preservatives and pH testing. Water-free products generally carry a lower microbial risk, but they can still be contaminated by wet hands, damp bathrooms, dirty tools or poor storage. Make small batches, keep containers dry and clean, and discard anything that changes smell, colour or texture.
Stick to anhydrous recipes for your first year and you’ll never have to think about preservative chemistry.
Five beginner projects (in order of difficulty)
1. Custom bath soak (5 minutes, no skill required)
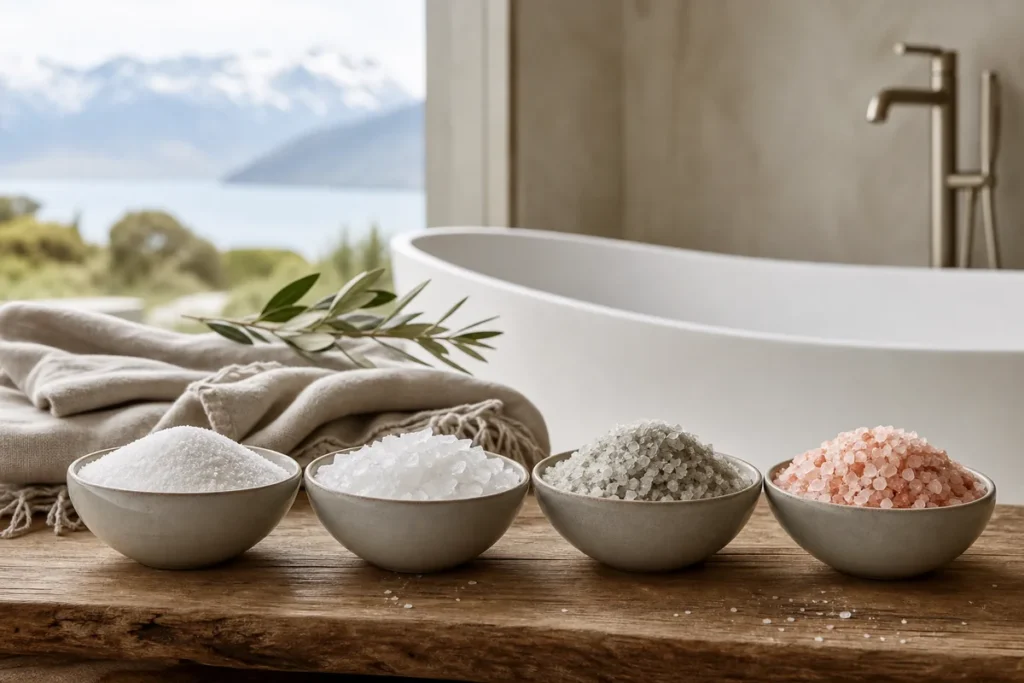
Blend Epsom salts, magnesium flakes and Dead Sea salt (roughly 2:1:1), add a scatter of coarse Himalayan pink salt for looks, and — optionally — a professionally formulated bath-safe fragrance if desired. Carrier oil does not reliably disperse essential oil in bath water, so do not add neat essential oil or a simple oil mixture to a bath. Full salt-by-salt breakdown in our bath salts guide.
2. Body scrub
Fine sea salt or sugar + enough sweet almond or apricot kernel oil to reach a wet-sand texture + essential oil at a 1–2% dilution — roughly 6–12 drops per 30ml of oil, not a free pour. Use within a few weeks, and keep water out of the jar (wet fingers introduce microbes).
3. Simple balm
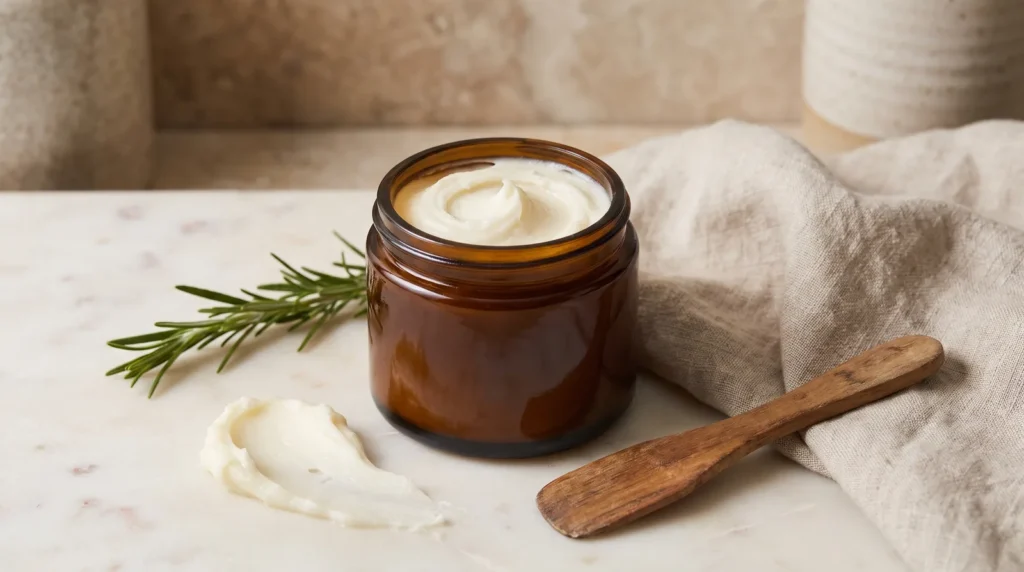
Melt 1 part beeswax with 3–4 parts oil/butter (shea butter + almond oil is the classic), pour into tins, done. More beeswax = firmer lip-balm texture; less = softer body balm. This is real formulation, and it’s genuinely hard to fail.
4. Clay mask (mixed fresh, per use)
Keep kaolin (gentle) or bentonite (drawing, better for oily skin) as dry powder, and mix a teaspoon with water immediately before use. Dry powder keeps for years; never store a pre-mixed wet mask. Don’t let it crack-dry fully on your face — rinse at the tacky stage.
5. Facial oil blend
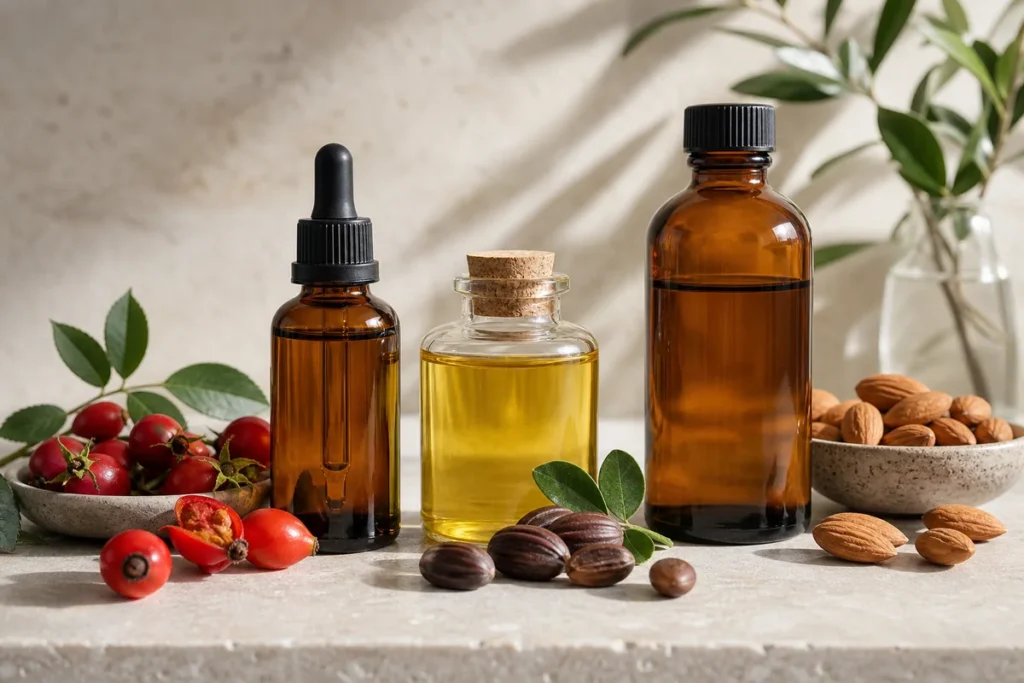
Jojoba base + rosehip + a single drop of lavender per 30ml if you want fragrance. See our carrier oil comparison for matching oils to your skin type.
What NOT to DIY as a beginner
- Lotions and creams — emulsions need preservatives, pH meters and proper technique. Learn anhydrous first.
- Sunscreen — never, ever DIY. An SPF number is a lab measurement on a specific finished formula; there is no way to know what a kitchen batch actually delivers until you burn.
- Anything for broken or medicated skin — that’s your GP’s territory, not Pinterest’s.
- Cold-process soap on day one — working with lye is absolutely learnable, but it’s a proper craft with safety gear; do a workshop or follow an experienced maker’s process first.
Basic hygiene rules that cover almost everything
- Sterilise jars and tools (dishwasher or boiling water, dried fully).
- Label everything with contents and date made.
- Keep water out of anhydrous products — dry hands, dry spoons.
- Patch test anything new on your inner forearm before wider use.
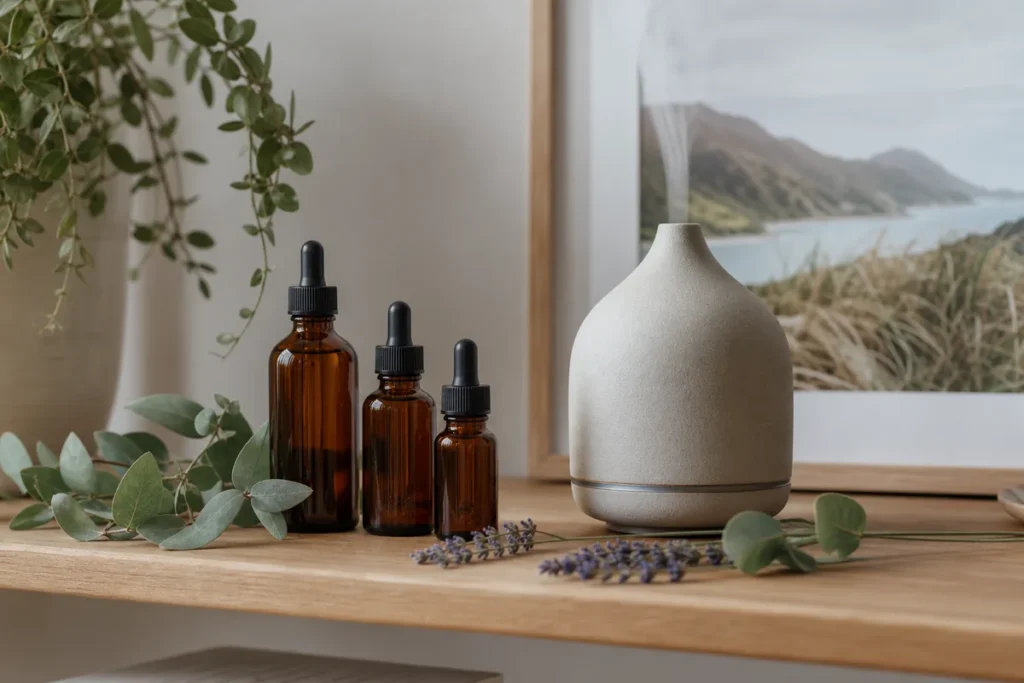
- Keep essential oils at sensible dilutions (1–2% for skin — roughly 6–12 drops per 30ml). Those figures are for healthy adults. They do not apply to pregnancy, to infants or to children, where the guidance is much lower dilutions or none at all — ask a pharmacist or your midwife before using essential oils on or around them.
- Go carefully with citrus. Bergamot, lemon, lime, grapefruit and bitter orange oils can be phototoxic, meaning skin wearing them can burn or pigment badly in sunlight. Leave them out of anything you’ll wear outdoors during the day.
Where to buy ingredients in NZ
The economics only work if you buy ingredients rather than retail products. NZ has a proper dedicated supplier scene — PureNature in Auckland is one of the main ones, stocking bulk salts, essential oils, carrier oils, butters, waxes, clays, jars and tins, plus beginner kits, recipes and workshops if you’d rather learn hands-on. Bulk pricing is the point: work out the cost per bath of a 5kg bag of Epsom salts and compare it with the jar on the pharmacy shelf.
The bottom line
Start with a salt soak this weekend — it’s a five-minute job that immediately beats anything on a pharmacy shelf for value. Graduate to scrubs and balms, keep everything water-free for your first year, and never DIY sunscreen.
Sources and further reading
- FDA: Microbiological safety and cosmetics
- American Academy of Dermatology: How to patch-test skin-care products
Health information is general and does not replace advice from a qualified clinician or pharmacist. Patch test anything new on a small area of skin before wider use, and stop using it if your skin becomes irritated. If you are pregnant, breastfeeding, or managing a skin condition, check with a clinician or pharmacist before putting a new ingredient on your skin.